Hello Scrappers!
We are so excited to be sharing this project with you!
We are big Misti fans over here at WWSS, so when the 12x12 Memory Misti was released, naturally, we were ecstatic! We ordered a bunch in for the shop and of course one for ourselves. We started right away on our first layout!!. Here's the layout we would not have been able to create without the 12x12 Misti!
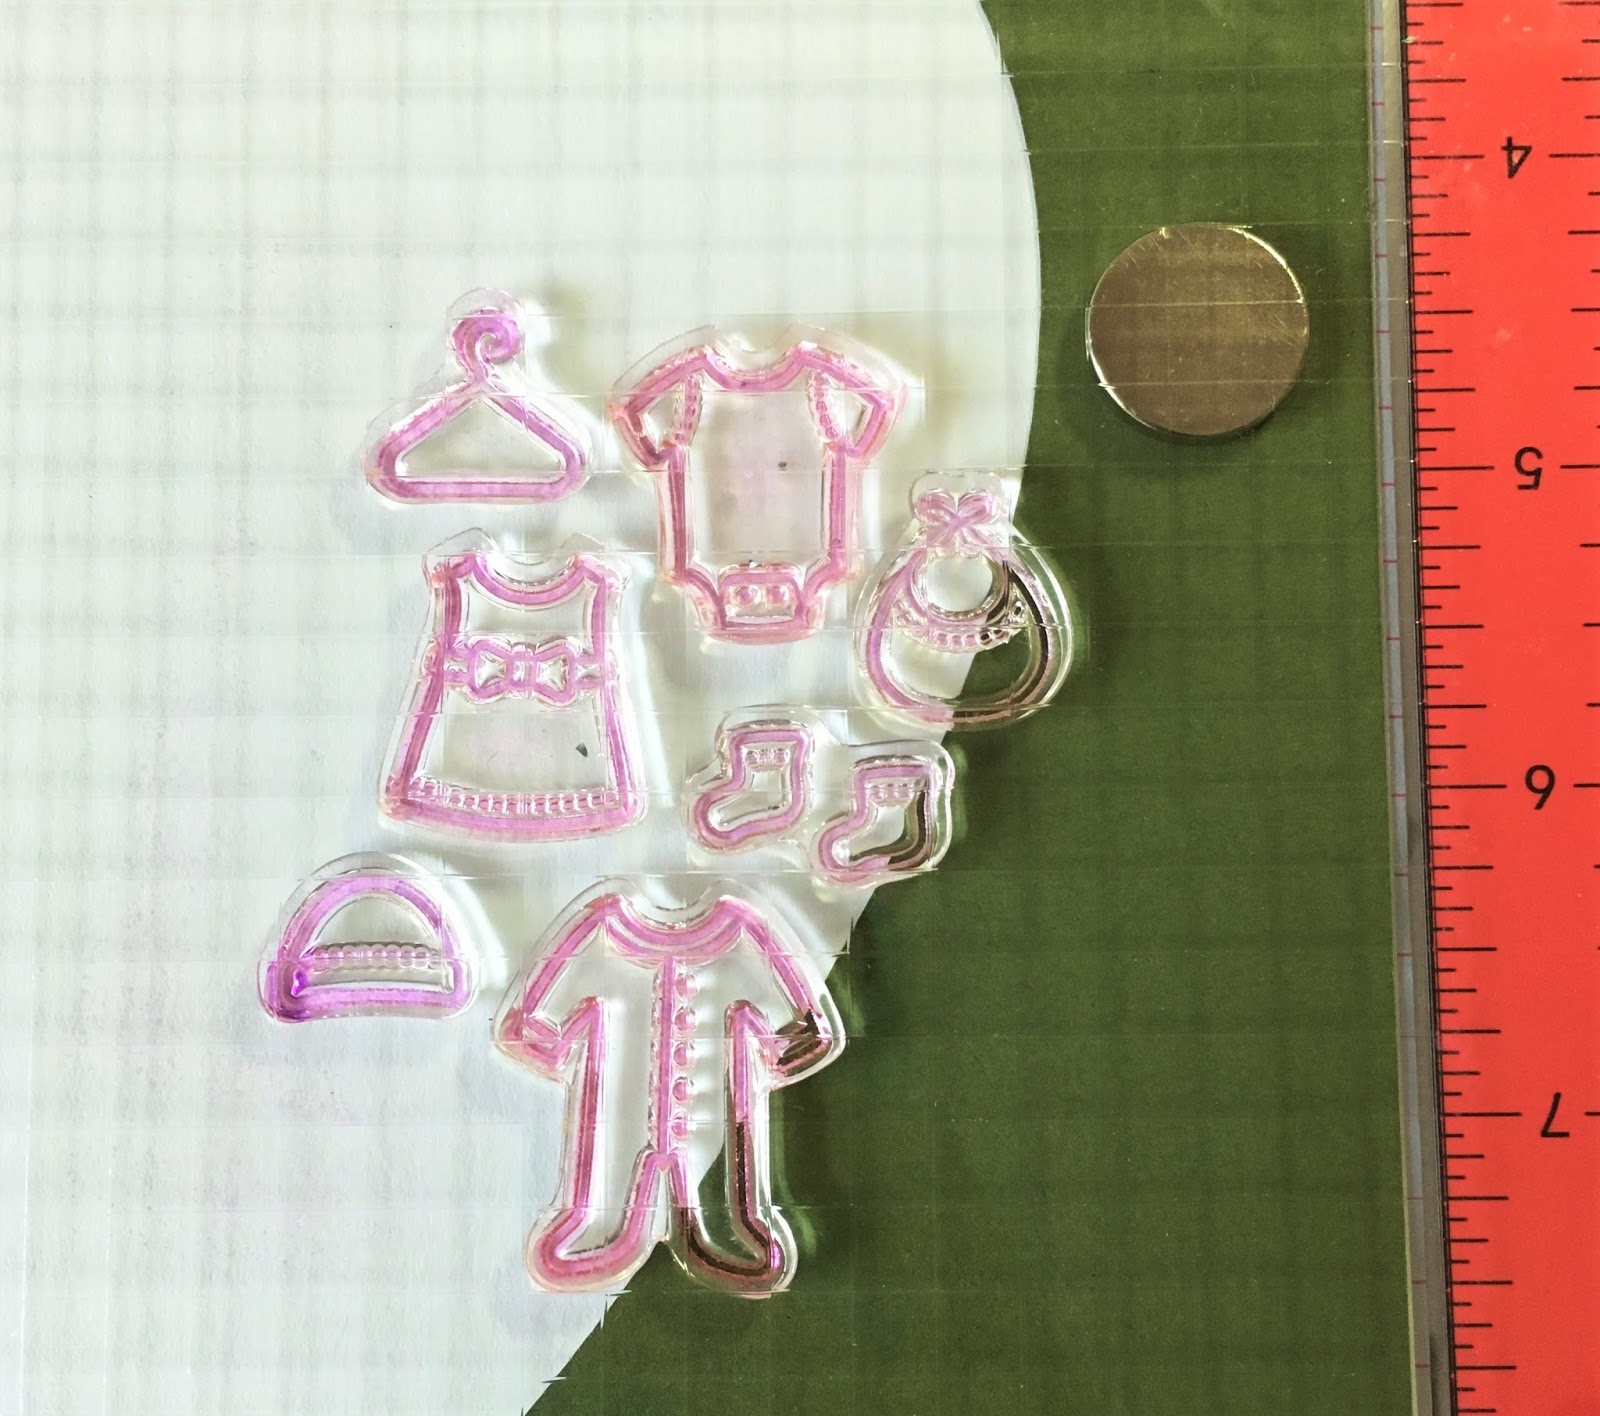
The filler in the heart was all stamped using the MISTI, as well as the sentiments around the heart. We used Lawn Fawn's 'Little Bundle' stamps.
Here's how we made this layout and some tips to help you make one too!
We used a Cricut to cut a heart stencil out of 12x12 cardstock. Choose a colour that will contrast your layout background.
We attached the heart stencil to the white cardstock base using a few small pieces of painters tape. We wrapped them around the edge, on the top of the dark cardstock, but on the underside of the white cardstock. This way it would stay in place. If the painters tape was to leave any marks, it wouldn't show on the layout.
We placed the papers on the MISTI, heart stencil side up and began to place the stamps where we wanted them.
Here's where you can learn from our mistake! Begin stamping in the spot where you know you will place your photo. There will be a bit of a learning curve with placing all of the stamps correctly and seeing how far apart you want the images stamped. If you make any mistakes, you can cover them with your photo.
Once you have all your stamps placed where you want them, lift the Misti lid and ink your stamps, then fold back over to stamp your images. We used a light purple ink and we had to stamp at least twice each time, thank goodness for the Misti or we wouldn't have been able to stamp in the same spot more than once! Believe me, many mistakes have been made trying to line the stamps up perfectly, grrr.
Here's where it gets a bit tedious. The stamps need to be cleaned after each use or when you try to place the stamps again, you will get the excess ink on your page. We really didn't feel like running to the sink and back every few minutes so we grabbed another one of our new favourite tools...the Lawn Fawn Stamp Shammy!
At first we was a bit skeptical about this product. "How on earth is that little cloth going to clean the stamps"? Wouldn't we just have to clean the cloth afterwards...isn't that extra work!?' Well...nope! This thing is fantastic. You simply wet the shammy, ring out the excess water and wipe your stamps clean. That's it. The ink that the shammy picks up does not transfer back onto your stamps.
That is a 100% unpaid, unsolicited review! The shammy really is just that fantastic!
Back to the layout.. lol,
We kept on repeating the process until the entire heart was filled with the stamped images. It took quite a while, but we put some music on, closed the studio door and actually found it to be quite relaxing.
The finished heart! Turned out great!
The heart turned out exactly as we had envisioned. The edges looked a bit unfinished though, it need a little something. What goes better on a baby layout than some hand stitching?
We put a piece of 1/2" thick craft foam under the layout and used a sewing needle to pierce holes about 1/4" apart. We used pink embroidery floss and stitched around the heart. We were really pleased with the result.
We felt the edge still needed a little something though. We knew turquoise would be an accent colour on this layout so out came the stamps again! Here's where the Misti really proved it's worth again.
Once again, we placed the stamps where we wanted them on the layout and picked them up using the Misti. We wanted the sentiment to curve around the heart, something else we wouldn't have been able to do without the Misti.
Turned out perfect! We stamped a few more sentiments. Now to embellish the layout & add the photo!
We trimmed the edges 1/4" on each side and added a pink background paper to create a border.
We added a title, some flowers and called it a day! I really wanted the stamped heart to be the focus of the layout. Mission accomplished!
The Memory Misti, the Lawn Fawn 'Little Bundle' set and Stamp Shammy are available in the shop. (Don't forget you get free shipping within Canada when you purchase the Memory Misti!)
We would love to see your ideas for using the Memory Misti for scrapbook layouts! Please share below!
Whew!!
Lori
xo