Tuesday, August 9, 2016

Jillibean Soup & Lawn Fawn Card!

Hello Crafters!

Don't you just love it  when you can use two products from two different brands and they come together so perfectly? I do! 

That is  what happened when I set out to make a get well card using Jillibean Soup's shaped shaker dies 'jar set' and Lawn Fawn's 'On the Mend' stamp/die set. 


Here's the card!


There are actually 4 bugs in the jar, one of them must be camera shy! 

This is how I made the card:

1. The Jillibean soup shaker card comes with  the mason jar shape pre-cut. How convenient is that! Choose a patterned paper for the front of your card, ensuring that it is bigger than the card front. You need space to trim it afterwards.  You may also decorate your card using the die cuts that you can order as well. (Like above)

2. Place the mason jar die over the paper where you want to cut the shape. You need to have enough paper on either side of the die to cover the card front.

*TIP: A bit of painters tape will hold your die in place while you run it through the machine. 


3. After you've cut the mason jar shape out of your patterned paper, fit it over the plastic shaker and flip the card over. Trace the edge of the card on the back of the patterned paper and cut it to size. Adhere the patterned paper to the card front, ensuring the 2 mason jar cuts line up perfectly. 


4. Stamp your sentiment on the front of the card. This is where the Lawn Fawn stamps came in perfectly! Die cut as many of the bugs from the 'On the Mend' set as you'd like and colour them. *If you're using a background colour behind your mason jar, now is the time to die cut it (using the same jar die cut) and adhere it in the correct spot to the inside of your card. 

5. Fill your shaker with as many bugs and shaker filling as you like! We used yellow, green, pink and white from a Queen & co Toppings set, as well as 4 bugs.  We also carry the Queen and Co. products for your convenience.

6. Very carefully, place your filled  plastic shaker  into the mason jar hole, open side facing up.  Peel off the adhesive backing and carefully fold the back of the card down onto the shaker, pressing firmly to make sure there are no gaps for your filling to fall out.

Turn your card upright and giver 'er a shake! I made me smile, and it will definitely cheer up someone  who is under the weather! 

You can use any type of stamps and embellishments to fill your shaker cards. 
We also carry  the stars and cloud set.  The sets are adorable!!!
Happy crafting!

Lori
xo


Saturday, August 6, 2016

Heartfelt Creations Berry Cafe Projects!

Good morning crafters!

To say that I'm totally in love with Heartfelt Creations Berry Cafe collection would be a huge understatement! As soon as we received it in our office I was showing it off to everyone!


These are just a few of the samples from the 12x12 paper pad, these  really show off the gorgeous colors in this collection. 

I could not wait to dig in to this! I knew a card was in the plans right away!


The stamp/die sets are so intricate you really need to see them in person to appreciate all the detail, right down to the seeds in the strawberries and the markings on the wood fence, these stamps are so detailed! 

Shortly after we received the collection, I was headed out to camp for the week- end  with the family. You think that would stop me from stamping and coloring? Nope! I packed up my stamps, colored pencils and blenders and created these die cuts while sitting back under the sun. Can you think of anything more relaxing!? 

Once I was back to the real world and had my die cuts all coloured, I chose a 5.25" x 5.25" square card front from the paper pad. There are a few different ones to choose from, I liked the blue border on this one. I arranged my die cuts the way I liked and then  chose a sentiment. There is also a selection of those in the paper pad. I adhered it all to a plain off-white card base and "voila", easy peasy!

Now let's get back to that part about relaxing, Let me tell you about this bottle of wine!


I love giving a bottle of my favourite wine as a thank you gift. Adding a gift tag t makes it a bit more personal (and pretty!).

Here's the instructions for making this tag:

1. Cut a piece of patterned paper 10" x 2.75".  Again, I used the berry cafe collection.

2. Cut a piece of coordinating cardstock 1/4" bigger than that.

3. Score the patterned paper at 3.25" and run a bone folder over it to ensure a solid fold. 

4. Using either a circle punch or trace something round the size that you need, cut a 1.25" hole approximately 1 inch above the fold. 1.25" is a good size for a standard size wine bottle, but if you're using a different bottle, measure the hole accordingly. 

5. Repeat steps 3 & 4 on the plain cardstock. Be careful to ensure that the holes line up, while still maintaining an even border all the way around.

6. Apply adhesive to the back of the patterned paper and adhere it to the plain cardstock. Decorate your tag using some of the many gorgeous embellishments in the paper pad! 

Anyone (ahem...your favourite local scrapbook shop owner perhaps,  lol!), who receives a great bottle of wine, with a beautiful tag is pretty lucky in my eyes!  Just make sure if it is a scrapbooking  friend, finish your coloring before you break into the wine! Ha!

Have a great day!!

Lori
xo


Friday, August 5, 2016

Crate Paper Farmhouse Layout

Good Morning Scrappers!

For us, fall is all about family time and getting the little ones out to enjoy the cool weather before the snow sets in. Every year we visit a local farm to get some fresh produce, take a hay ride and pick some pumpkins. 

As soon as I saw these journaling cards from Crate Paper's Farmhouse Collection,  I knew they would be perfect for scrapping our trip to the farm last fall! 


I love using journaling cards on layouts because they add clean lines to start with, which allows you to  build on top of that. I picked 6 cards from this sheet that I thought would go well together. I'll use the others for other layouts or cards. 


I placed the cards on the layout, and used my grid crafting mat to ensure they were even and straight. I shopped through my stash to see what I already had that would fit the theme. 

Wood embellishments go great with this collection because the color palette is very outdoorsy (is that a word!?).

I used some washi tape to embellish two of the cards, and a few metal pieces to add depth. 

The title 'blessed' is from the Simple Stories 'We are Family' collection. The colors of that collection also work well here. 

This fall will, of course, include another trip to the farm for pumpkin collecting! Do you pick your own pumpkins in the fall?

Lori
xo


Friday, July 29, 2016

Echo Park - Little Man Mini Album


Good Morning Crafters!

Today I'm going to show you a mini album I made using Echo Park's Little Man collection that was released in October 2015. I knew as soon as I saw this collection it would make a perfect mini album!

I love this collection because it just screams little boy! Its full of frogs, trucks, dinosaurs and toys! The collection included vibrant patterned cardstock, journaling cards, alphabet stickers and an elemental sticker sheet. I used about half of the collection on this album. 

I used a basic 6x6 cardboard album from Michaels, and didn't have a sketch or plan in mind. I was going to take a cue from my little guy and fly by the seat of my pants!


I created the cover first. I just loved the boy on the skateboard sticker, and knew it would be perfect for the cover! The alpha stickers with the stitched look were just the right size, and they looked great!


The first 2 pages can feature 3 photos,  I absolutely love the alphabet block cardstock! 

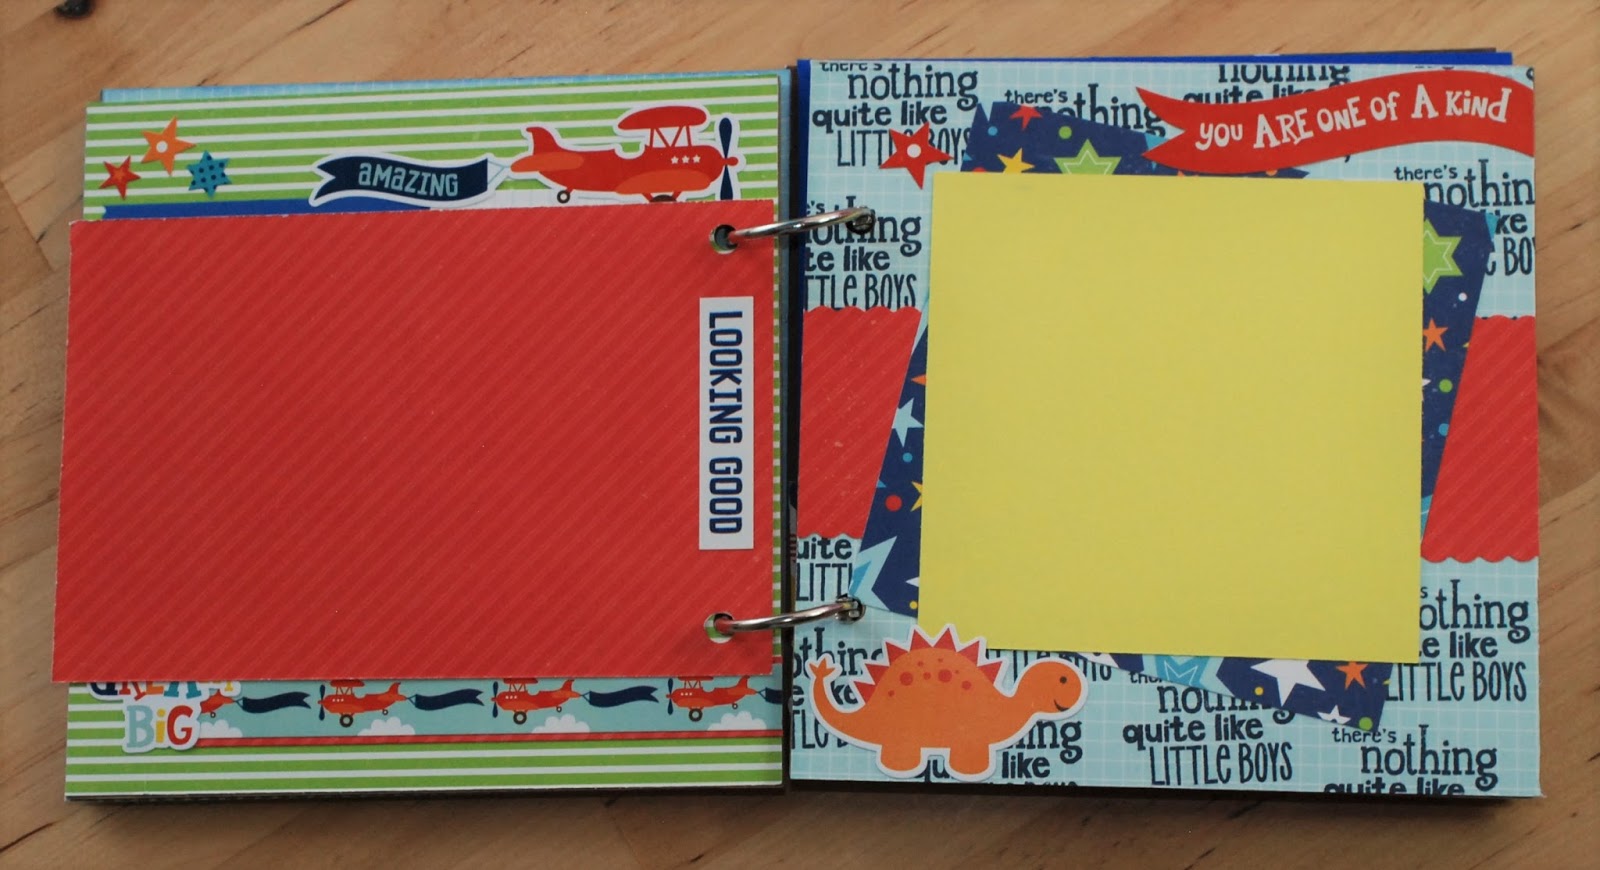
The collection features cardstock and stickers with an airplane theme. One of the cardstock sheets includes 6 4x6 journaling cards. On the back of 'little boys are the best' is patterned red cardstock, so I punched 2 holes in the card and left the back blank to add a trimmed down photo. 

Echo Park also has stamps in the Little Man theme. 
I used the 'There's nothing quite like little boys' stamp to create my own patterned cardstock, The collection includes such adorable stickers, like that orange dinosaur! 


For the next page, I wanted to add a little something extra. Echo Park's Pinstripes & Petticoats collection included a rocket ship embossing folder. 


I used this folder to emboss a sheet of plain red cardstock, to give a great effect to the background! I really wanted to maximize the amount of photos that could be included in the album, so I adhered washi tape in a bright colour to 2 squares of cardstock and used the washi tape to also adhere them to the embossed cardstock, creating a mini album, in my mini album!

The next page shows you that with a simple run around the edges of a solid cardstock sheet with patterned edge scissors can give a finished look to your photo mats! 

For these pages I used the label stickers to create a border around the page. I place a piece of cardstock over half of the 'Boys Rule' sticker so I could easily slip a photo in there. The collection also includes a sheet of 3x4 journaling cards. I knew this one would be perfect the album. 


The back of the journaling card featured a star cardstock, I left it blank so I could add a small photo there. I used more of the large stitched letters and some of the small alpha stickers to create a custom border on the next photo mat. 


I loved that the collection included lots of sentiment stickers, They were big enough to stand out but small enough for a mini album! 


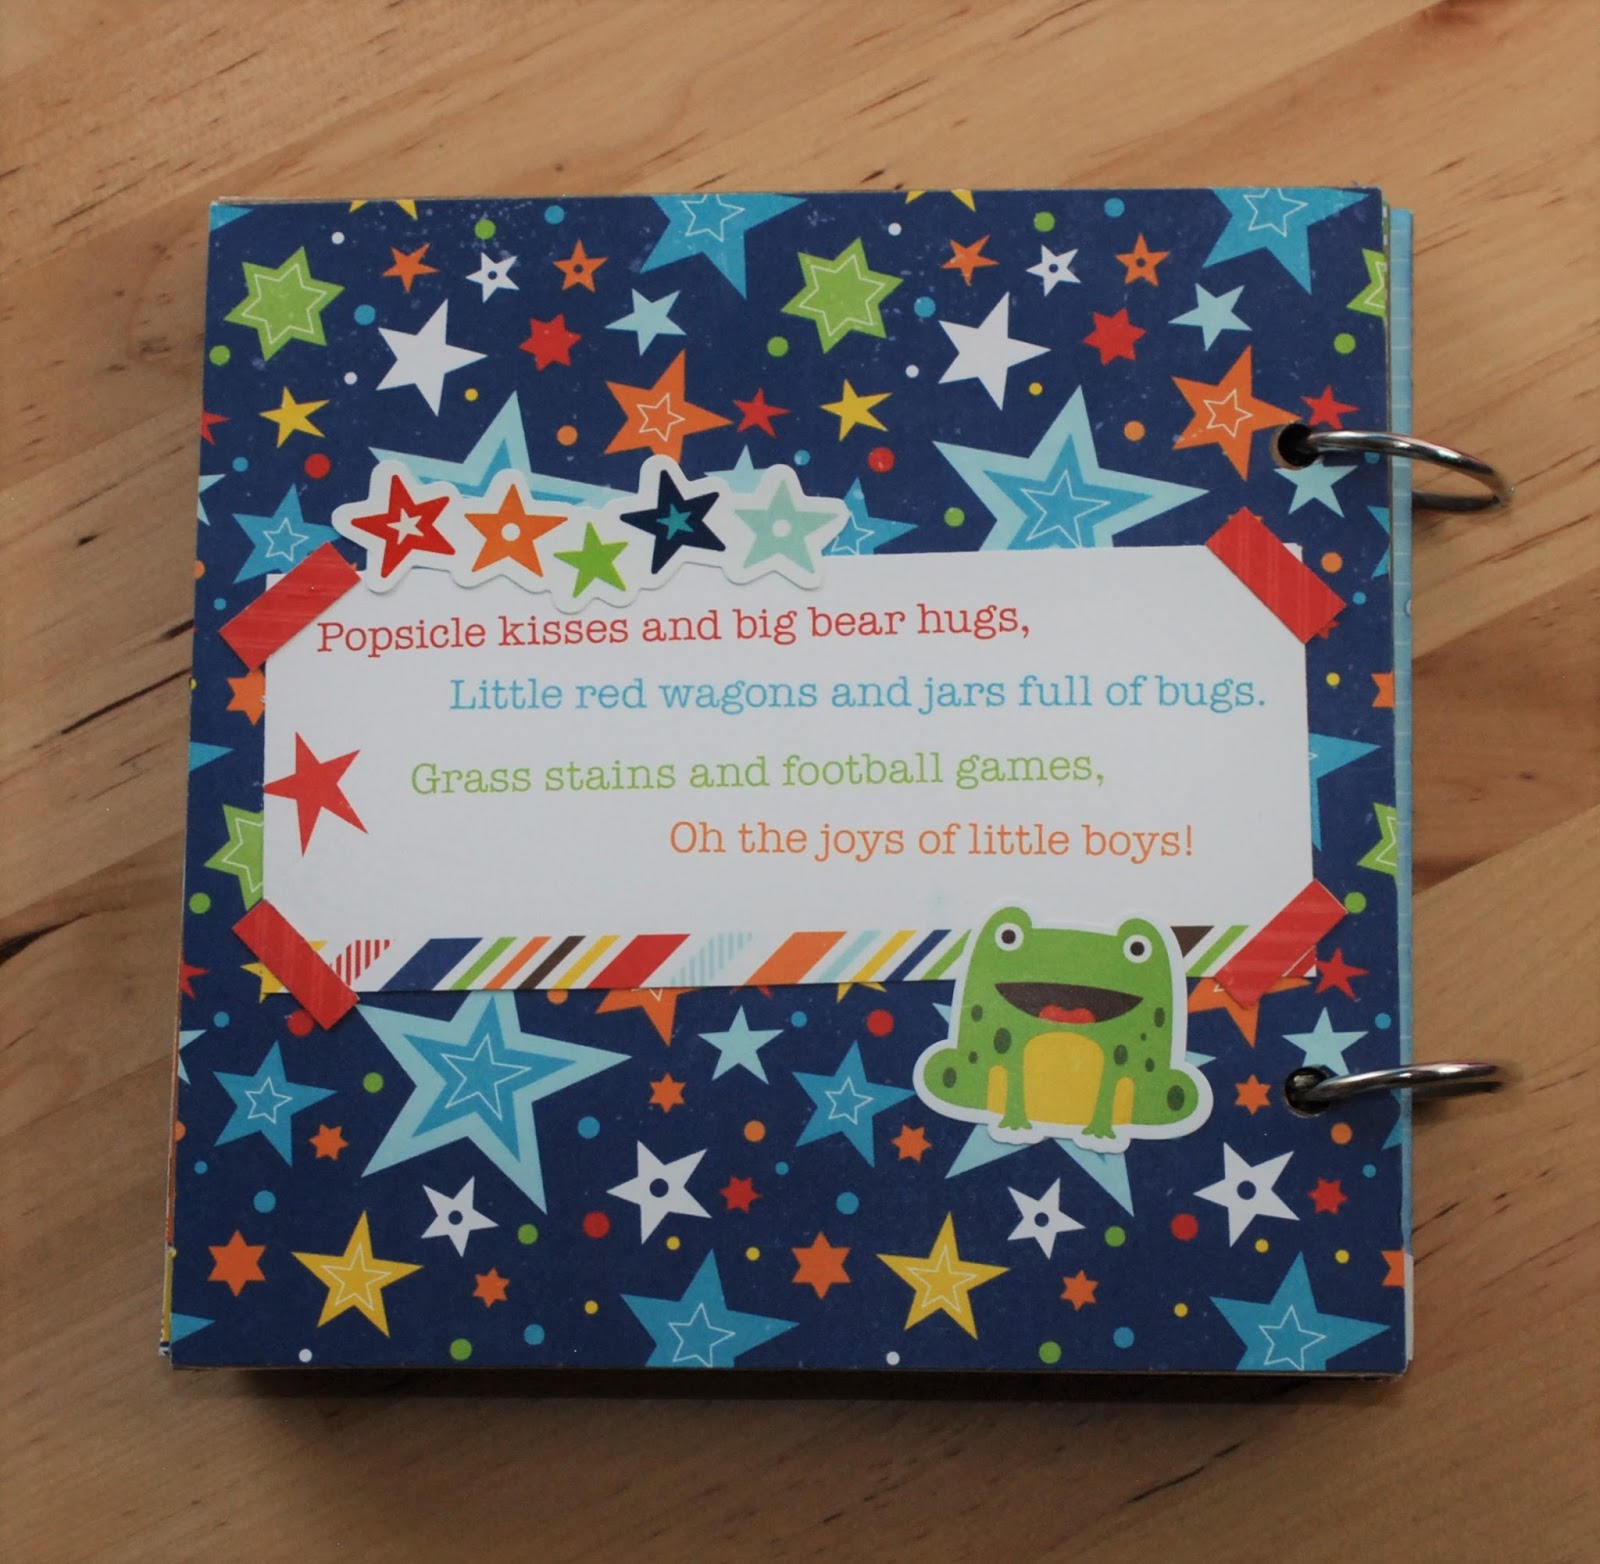
For the back of the album, I wanted something that would remind me of all the fun and excitement a little boy brings. This quote was included on one of the cardstock sheets, and fit the feel of the album perfectly! 


I hope you enjoyed this little man themed mini album! Check out worldwidescrapbookingsupplies.com to purchase the Little Man collection!

Have a great long weekend everyone!

Lori
xo


Wednesday, July 27, 2016

The BFG Card


Have you been to see The BFG on the big screen yet? I took my daughter to see it and we both loved it! Roald Dahl is one of our favourite authors so seeing any of the movie adaptations is always a treat!

Recently in the shop we got in a bunch of BFG and other Roald Dahl themed merchandise! Charlie and the Chocolate Factory, the Enormous Crocodile and Fantastic Mr. Fox were all included in the goodies!

One of the products I couldn't wait to dig into was a card kit. 


The kit came with just one card base but die cuts to make multiple cards. I decided to go with a congratulations card for a friend that also loved the BFG.


The kit came with a duplicate of the front of the card, with the center cut out. I ran some coloured chalk around the outer and inner edges of the card and glued it to the card front. Included in the die cuts are quotes from the book!


This collection is so whimsical! You'll love it as much as we did! 

This card kit along with other Roald Dahl themed kits, stamps and a great journal kit are available in the shop at Roald Dahl Collection


Have a whoopsy-Splunkers day!

(For those of you who don't know what that means, it means have a fantastic day!)

-Lori xo